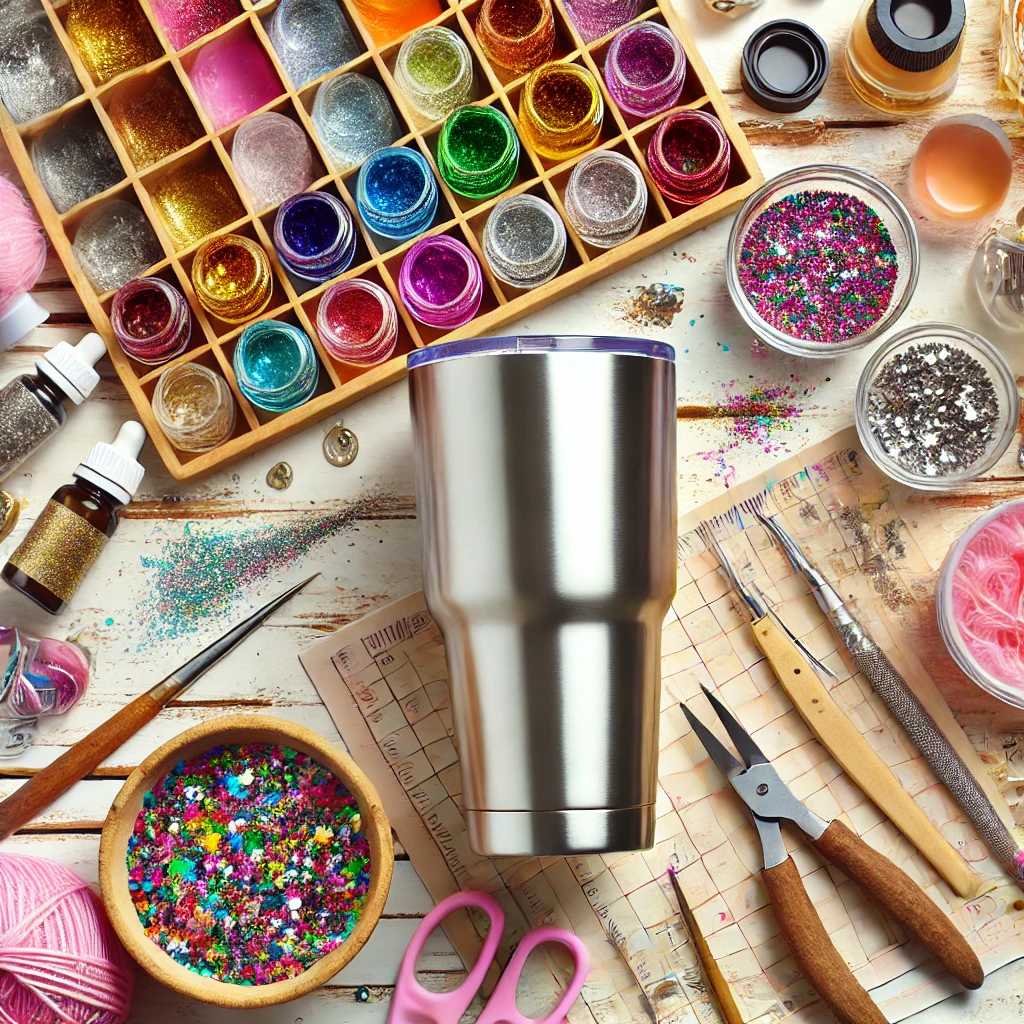
If you’re looking for a fun and creative DIY project, making a resin glitter tumbler is a fantastic choice! These sparkly, personalized tumblers make perfect gifts and are a great way to express your creativity. In this guide, we’ll walk you through the process of creating your very own resin glitter tumbler.

Materials You’ll Need:
1. Stainless steel tumbler
2. Epoxy resin and hardener
3. Glitter (various colors)
4. Mod Podge or spray adhesive
5. Painter’s tape
6. Silicone mixing cups and stir sticks
7. Disposable gloves
8. Popsicle sticks or wooden stirrers
9. Measuring cups
10. Disposable brushes
11. Tumbler turner (optional but recommended)
12. Craft mat or protective covering for your work area
13. Sandpaper (400-600 grit)
14. Isopropyl alcohol and paper towels
Step-by-Step Instructions:
1. Prep Your Tumbler:
Begin by washing your stainless steel tumbler with soap and water. Dry it thoroughly. Sand the surface lightly with 400-600 grit sandpaper. This helps the resin adhere better. Wipe off any dust with isopropyl alcohol and a paper towel.
2. Apply Base Adhesive:
Use painter’s tape to mask off any areas you don’t want to get glitter on, such as the rim and bottom. Apply a thin, even layer of Mod Podge or spray adhesive to the tumbler. Be sure to work quickly, as Mod Podge can dry fast.
3. Add Glitter:
While the adhesive is still tacky, sprinkle glitter over the tumbler. Rotate the tumbler to ensure even coverage. You can use one color or mix several for a custom look. Allow the tumbler to dry completely, typically for a few hours or as per the adhesive’s instructions. Remove painters tape.
4. Prepare the Resin:
Put on disposable gloves and work in a well-ventilated area. Follow the manufacturer’s instructions to mix the epoxy resin and hardener. Measure equal parts of resin and hardener, and stir thoroughly for at least 3-5 minutes to ensure a complete mix.
5. Apply the Resin:
Place your tumbler on a tumbler turner if you have one. This device slowly rotates the tumbler, allowing the resin to coat evenly. If you don’t have a turner, you can prop up the tumbler and rotate it manually every few minutes. Pour the mixed resin onto the tumbler, using a disposable brush to spread it evenly. Ensure the entire surface is covered with a thin layer of resin.
6. Add More Glitter (Optional):
If you want extra sparkle, you can sprinkle more glitter onto the resin while it’s still wet. Allow the resin to cure as per the manufacturer’s instructions, typically 24-48 hours. Ensure the tumbler is level and dust-free during this time.
7. Multiple Coats of Resin:
For a smoother finish, you might want to apply another coat of resin. Repeat the mixing and application process, ensuring the first layer is completely cured before adding the second. If there are any rough edges, lightly sand them and wipe the tumbler off with a wet paper towel. Add final coat of resin. You may repeat this process multiple times until you are satisfied with limited imperfections.
Tips for Success:
Work in a Dust-Free Environment: Dust can settle on the wet resin, so work in a clean area and cover your project while it cures.
Use a Tumbler Turner: This helps achieve an even, professional finish without drips.
Measure Accurately: Proper resin and hardener ratios are crucial for curing.
Conclusion
Creating a resin glitter tumbler is a rewarding project that results in a beautiful, custom piece you can proudly use or gift. With some patience and attention to detail, you’ll craft a tumbler that sparkles and shines uniquely. Enjoy your crafting journey!
Feel free to share your creations or ask any questions in the comments below. Happy crafting!


Leave a Reply